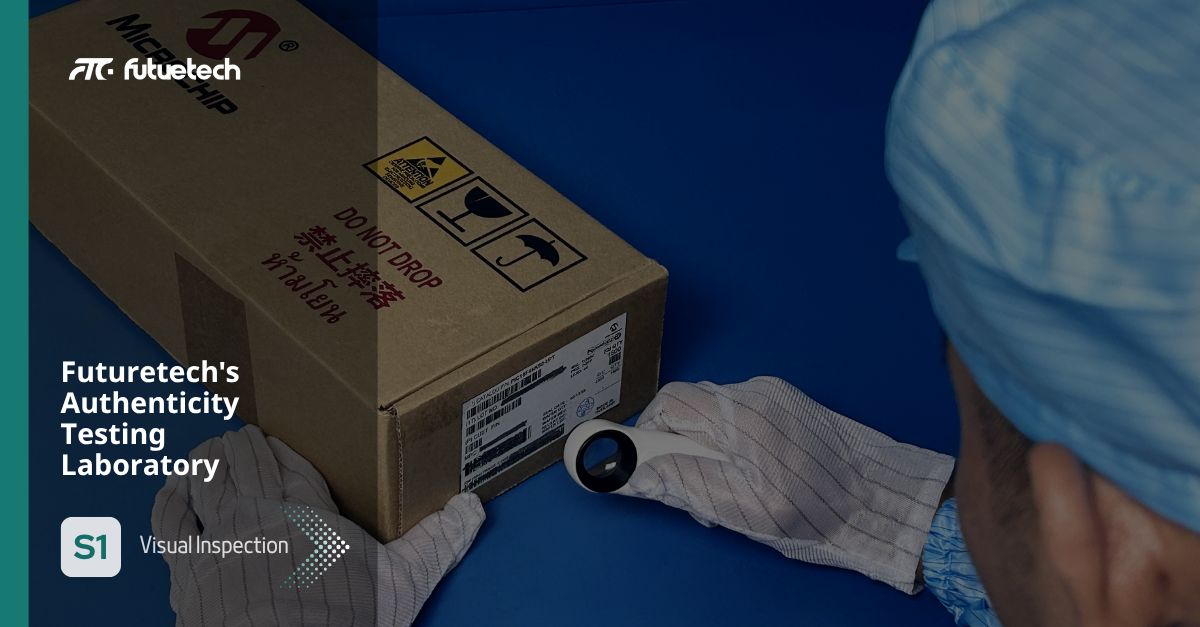
In today's global electronics market, ensuring component authenticity is not just a quality requirement — it's a critical trust factor. At Futuretech Components, our Authenticity Testing Laboratory is a cornerstone of our commitment to quality and reliability. Among our core procedures, Visual Inspection plays a vital role in identifying non-conforming, substandard, or potentially counterfeit components before they reach our customers.
Multi-Layered Visual Inspection Process
Futuretech's inspection process is both comprehensive and technologically advanced, combining human expertise with high-resolution tools and automated systems. Here's how we ensure every component meets rigorous standards:
Documentation & Packaging Verification
Our inspection begins with verifying labels, date codes, part numbers, and manufacturer packaging. This step ensures compliance with manufacturer specifications and industry traceability standards. Any inconsistency at this stage is a red flag.
External Visual Inspection
Under standard magnification, inspectors examine components for:
Surface defects such as scratches, cracks, or abnormal textures
Marking anomalies, including altered fonts or misplaced logos
Lead condition, to detect oxidation, bending, or evidence of retinning
Our experienced team is trained to identify even the most subtle irregularities.
Digital Microscopy (Up to 500x)
High-magnification microscopy allows us to detect advanced counterfeiting techniques, including:
Blacktopping: A coating used to hide original markings
Sanding or resurfacing: Often used to alter part numbers
Oxidation or retinning, indicating potential refurbishing or aging
HD Digital Imaging (60x)
For clarity and documentation, we utilize high-resolution digital imagery to capture distortion-free surface details. These images serve as visual evidence and are archived for traceability and reporting.
Dimensional Measurement in 2D/3D
Using advanced 2D/3D systems with a high depth of field, we measure part length, width, height, and lead pitch to micron-level precision — ensuring all dimensions are consistent with the manufacturer's original specifications.
AI-Powered Reel Counting
To avoid any discrepancies in quantity, our X-ray counting system performs non-invasive reel counts with AI-assisted accuracy, eliminating the need for manual unpacking and reducing handling risk.
EDX Analysis for Material Validation
For high-risk components, we perform Energy Dispersive X-ray Spectrometry (EDX) to analyze elemental composition, validating materials, finishes, and coatings. This final layer of inspection helps us uncover any potential counterfeit threats based on material inconsistencies.
Futuretech’s Commitment: Trusted Components, Zero Compromise
At Futuretech Components, every visual inspection is more than just a procedure — it’s a promise. A promise that every part we deliver has passed through multi-point verification, and that our customers receive only authentic, high-quality components backed by our expertise and accountability.
Through our robust visual inspection process and state-of-the-art laboratory capabilities, we continue to set industry benchmarks for supply chain security and customer confidence.


